Learn to build your own Woodworking Bench and Tool Chest
With my video series on
Vimeo On Demand Click Here

In this video series, I’ll be your “personal coach” to teach and show you how to build this extremely well-crafted, serious woodworking/cabinetmakers’ bench that any woodworker would be proud to own and have in their shop.
This bench satisfies the needs of the most demanding cabinetmakers, furniture makers, music instrument makers, and woodturners – I know, as I have sold benches to all of them.
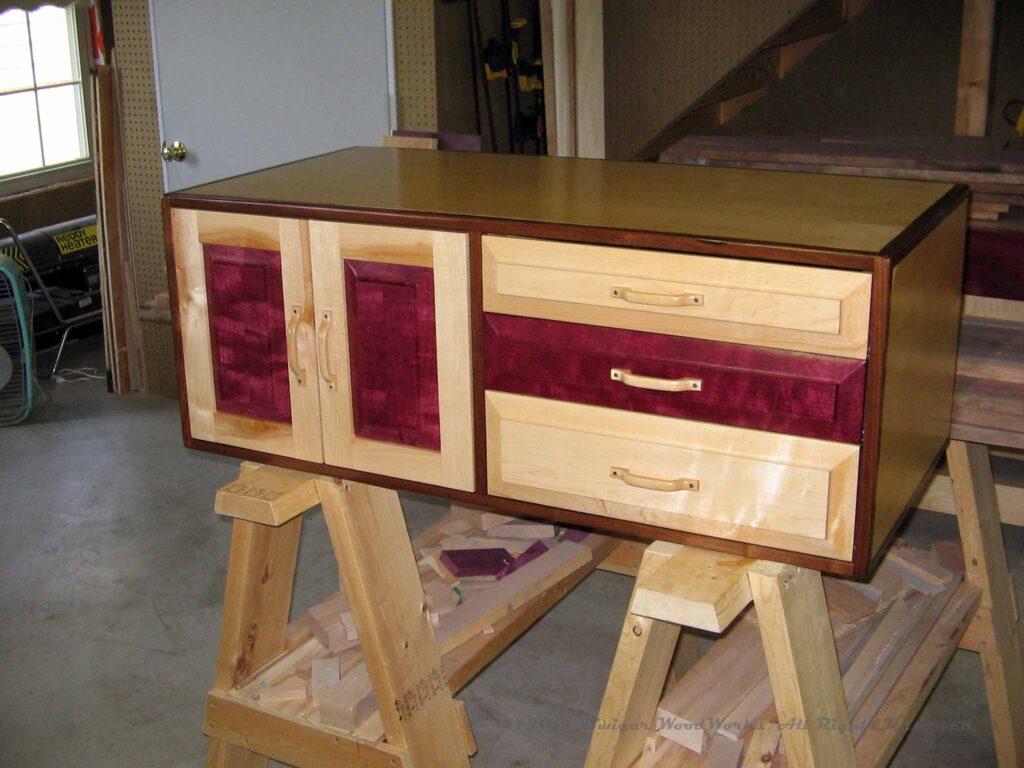
This is my companion Tool Chest video series to my Woodworking Bench video series. This video series can be used to construct a tool chest for almost any woodworking bench that has lower stretchers in its base construction.